Easy Steps to Putting on and Clipping into Peloton Shoes [Easy Trick]
 Alex McRae
- 6 Min To Read
- 08 Nov, 2023
You received a set of
peloton bikes, but you don’t know where to start, put them on, or attach them. This guide will help you feel confident trying them on and boost your morale.
Peloton Shoe Facts
You wear Peloton shoes when you ride the indoor stationary Peloton. This shoe will improve your spinning performance. The bike pedals can be used with only Look Delta and SPDSL shoes and cleats.
How to Put on Peloton Shoes
Let’s now get started on the ultimate guide to how to put on your shoes.
Step 1: Install the
Peloton-compatible shoes will have the cleats installed already, such as most Tommaso pairs. Most brands, including Peloton, won’t have the cleats mounted. You must mount them before you wear the shoes.
Three cleat plate holes are located at the front of your shoes. Place your cleats in front of the holes. The line between the cleat holes and the cleats should be the same. If the line is not present, refer to our detailed guide on cleat assembly.
Place the washers in each cleat hole. Next, place the screws. Use an Allen key of at least 3mm in size to turn the screws inwards.
First, twist the screws in one at a time before tightening any. Next, tighten all screws until you see resistance.
The cleats must be very tight to prevent peloton workouts from being interrupted or unclipped.
Step 2: Loosen the Buckle
Most peloton shoes have Velcro straps and a buckle. If the buckle is locked, unlatch it.
How? The buckle will open when you press the button. Next, loosen the buckle strap until you can comfortably put on the shoe without straining.
Step 3: Put on The Peloton Shoe
Slide your foot into the shoe while wearing your cycling socks. To maintain balance, you can sit down while putting the shoe on. It would help if you also were gentle the first time to avoid any mistakes.
Make sure that your whole foot is firmly planted on the insole of your shoe. Even if your sole will be on the ball of your toes, the heel should not be hung. Before you spin, ensure that your foot is securely supported.
Step 4:
Now that your foot is securely in the shoe, you can buckle up. Pull the string through the loop at the buckle’s button. Release the button by pulling up on it. You should hear a creaking sound.
While the shoe should fit snugly, you must be comfortable. If you feel the shoe opening is too narrow, loosen it as in step 2 until you find the right fit.
Step 5: Repeat the Process with the Other Foot
Install the cleats and loosen the buckle. Then, adjust the buckle to fit the shoes. For a stunning finish, follow the steps above.
Are you done?
Let’s see how to get on the
peloton pedals.
How to Clip in Peloton Shoes on Pedals
Note: Can’t get Peloton shoes to clip in (Peloton cleats won’t clip in)? Know the quick answer:
There are three types of the solution below:
- There were some faulty cleats sent out with the rectangle in the middle. It should be a circle. Try removing it and see if you can clip in then. If not, call Peloton, and they will send you new cleats.
Or
- Loosen the pedals’ screws and try them out again.
Check this YouTube video
Or
- Lastly, if you couldn’t find any solution, order a pair of
BV cleats from Amazon. It will work.
Let’s now discuss how to attach the Peloton shoes to the pedals.
Step 1: Stand Legs Apart on Each Side of the Bike
Are you ready to get on the bike? Place your legs on each side of the bike. Now you can move towards the pedals by holding the handlebars firm. Thanks to the handlebars, you will have a good balance on the bike.
Step 2: Twist the Pedal to the 6 O’clock Position
Keep one foot on the ground and use the other to turn the pedal. The pedal should be at the 6 o’clock position, ready for the first foot that clips in. This position will allow you to place the pedal flat and face upwards.
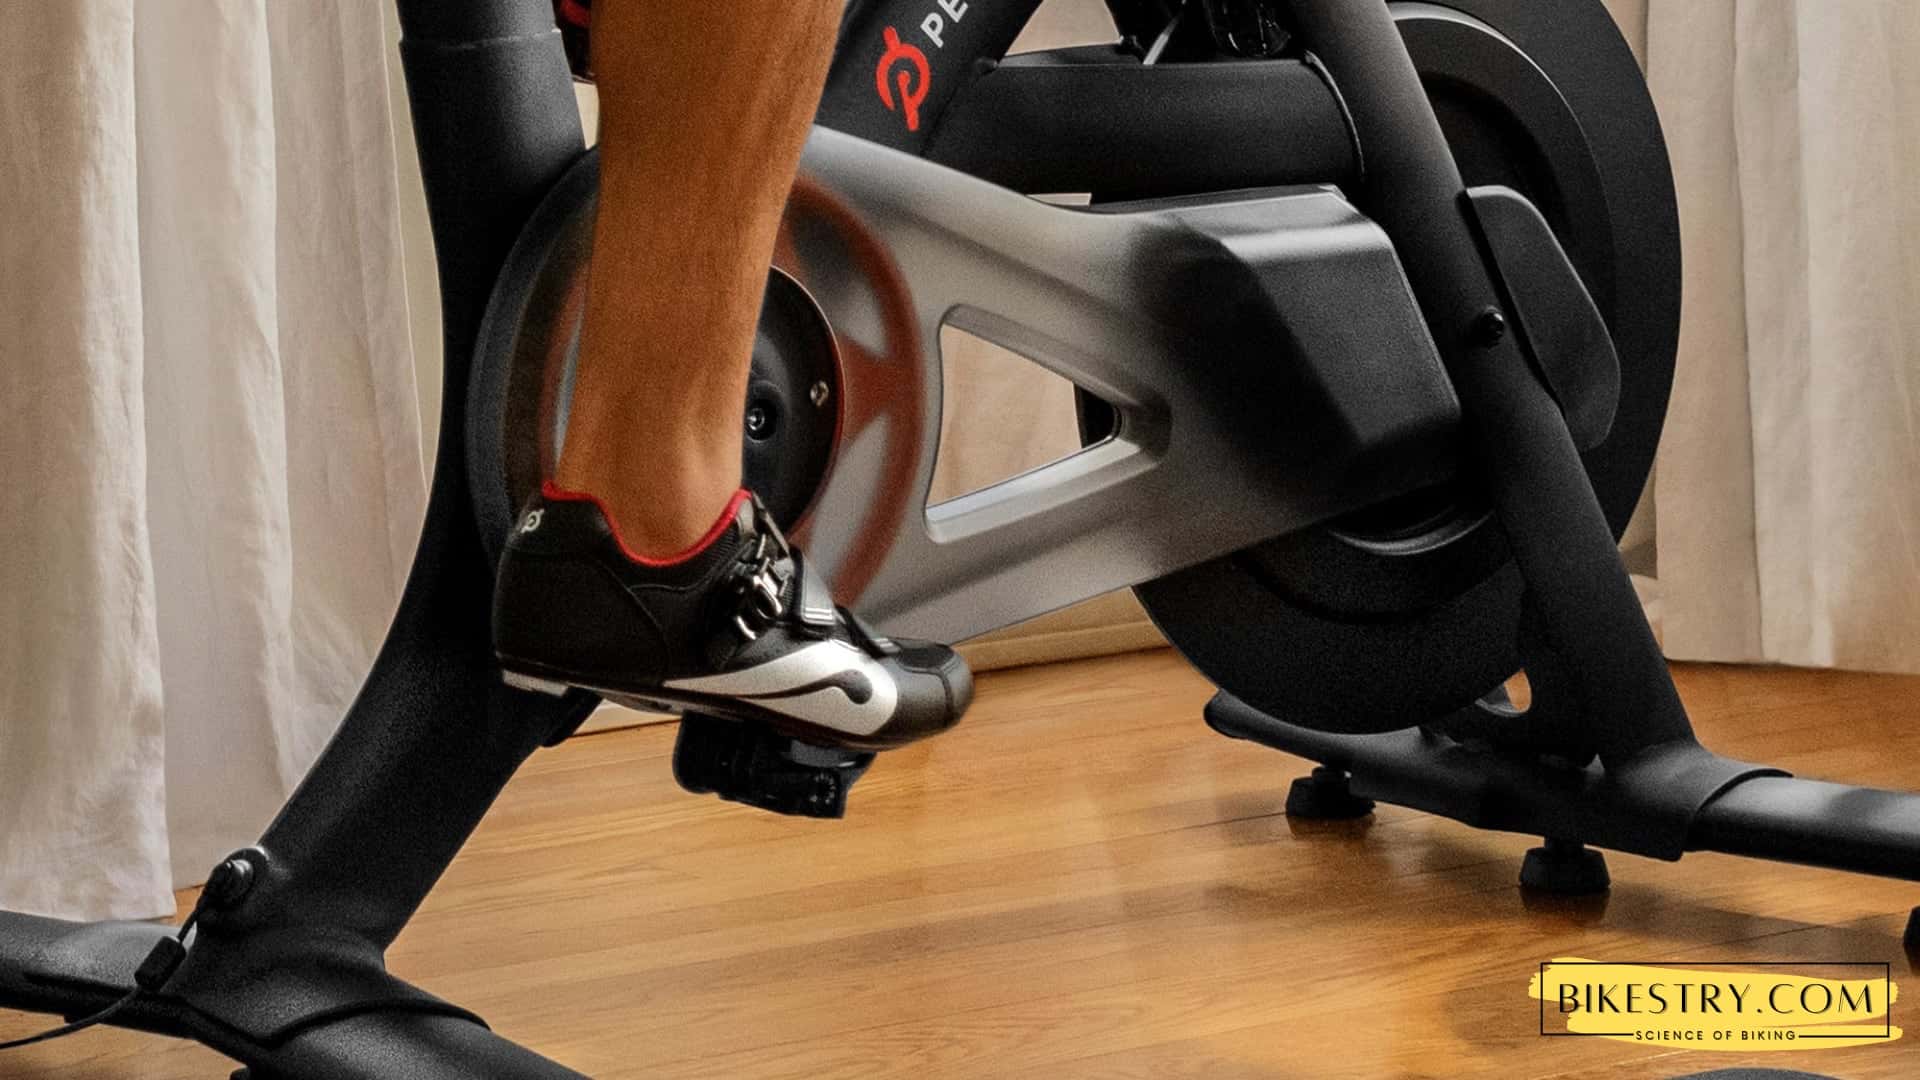
Step 3: Now, Point Your Toe Down and Put Pressure
Are you ready to clip? Now, place the pedal in the 6 o’clock position. Lift the foot slightly. Point your toes down and put the ball on the pedal platform. The clipping in will be easier if you push the pedal downwards.
The cleats will click in place, making a creaking sound. To get a better grip on the pedal, apply Pressure to the shoe and twist it. Now, you can fit the pedal with only one foot.
Step 4: Clip in the Second Foot.
This will be much easier than clipping in the first one. Firstly, your first foot is already strong, and secondly, the process is familiar to you.
Turn the first pedal to the 12 positions so that the second pedal is at the 6.
Clip the second foot in, and push the heel through the pedal to increase Pressure.
You’re Ready for the Ride
You’re ready to spin the session at least as far your feet can go.
Clipping out is as easy as kicking your heel off the pedal. Within seconds, you will be free.
Below are the answers to your questions about putting on the Peloton shoes.
FAQ
Should my toe touch the end of my Peloton shoe?
It’s not exactly. There should be some space at the front of the shoes. The distance should not exceed half an inch.
Space is vital for breathability and to ensure that your toes are not hurting during spinning sessions. Remember that spinning is a vigorous workout, and comfort is key to achieving better cadence.
Can you wear sneakers on the Peloton bike?
Yes, you can.
Peloton pedals can be used with various toe cages, including those made by Peloton. These can be attached to your bike with regular sneakers. You can also check out our collection of
toe frames for peloton bikes.
Will peloton shoes come with cleats?
They won’t. The cleats must be purchased separately from the shoes. You can order both the cleats and the shoes separately, so they come together in one package.
Can two people ride on the same peloton bike?
More than two people can use peloton bikes. Peloton toe cages are helpful for those who don’t have shoes.
Peloton offers the ability to change your account. Each user can log in to their account, but the peloton bike remains the same. It can be used as family exercise equipment.
Wrapping Up
It is important to have the correct information about adequately putting on your peloton shoes and attaching the pedal. It’s easy if you know the process. Although it takes a while to put the shoes on, it will take less than 2 minutes. You won’t have to put the cleats on every time. You will only need one cleat to last you a long time.
Now the ball is in your court. Start spinning now, and I hope you’ll be done with your century ride soon. After your century ride with the Peloton, you’ll be given a t-shirt.