The Easy Way to Set Up Your Peloton Bike: No Tools Required, No Experience Needed
 Alex McRae
- 6 Min To Read
- 31 Aug, 2023
You’re familiar with the excitement of waiting to get a new set. You’re finally able to buy a peloton bicycle. You want your first peloton setup perfect.
We want to make sure you don’t lose your excitement in the midst these exciting news. For a guide to setting up a peloton bicycle, stand straight.
Want to Learn** P **eloton Bike Setup?
Peloton bike setup is how you handle the bike after it has been delivered to how it feels during your rides.
Let’s get started on the setup process.
Moving the Peloton Bike
Once the bike is delivered, you will need to move it into the room you prepared in anticipation. You will still need to help. If you live alone, you can ask a friend or neighbor to help you move.
The bike comes with transport wheels that make it easy to move between places. You should also remember to dismount the screen if you plan on moving the bike up and down stairs or around corners.
To continue the moving process, tilt the bike forward and grab the rear stabilizer. Your friend can hold the bike by its handlebars. Gently move your bike to its workout area.
It is important that the bike be placed in an even place. This will make it easier to ensure that your bike is stable.
The bike’s levelling feet can then be adjusted. If the bike is shaking, unscrew them. Make sure the bike is in a stable and straight position.
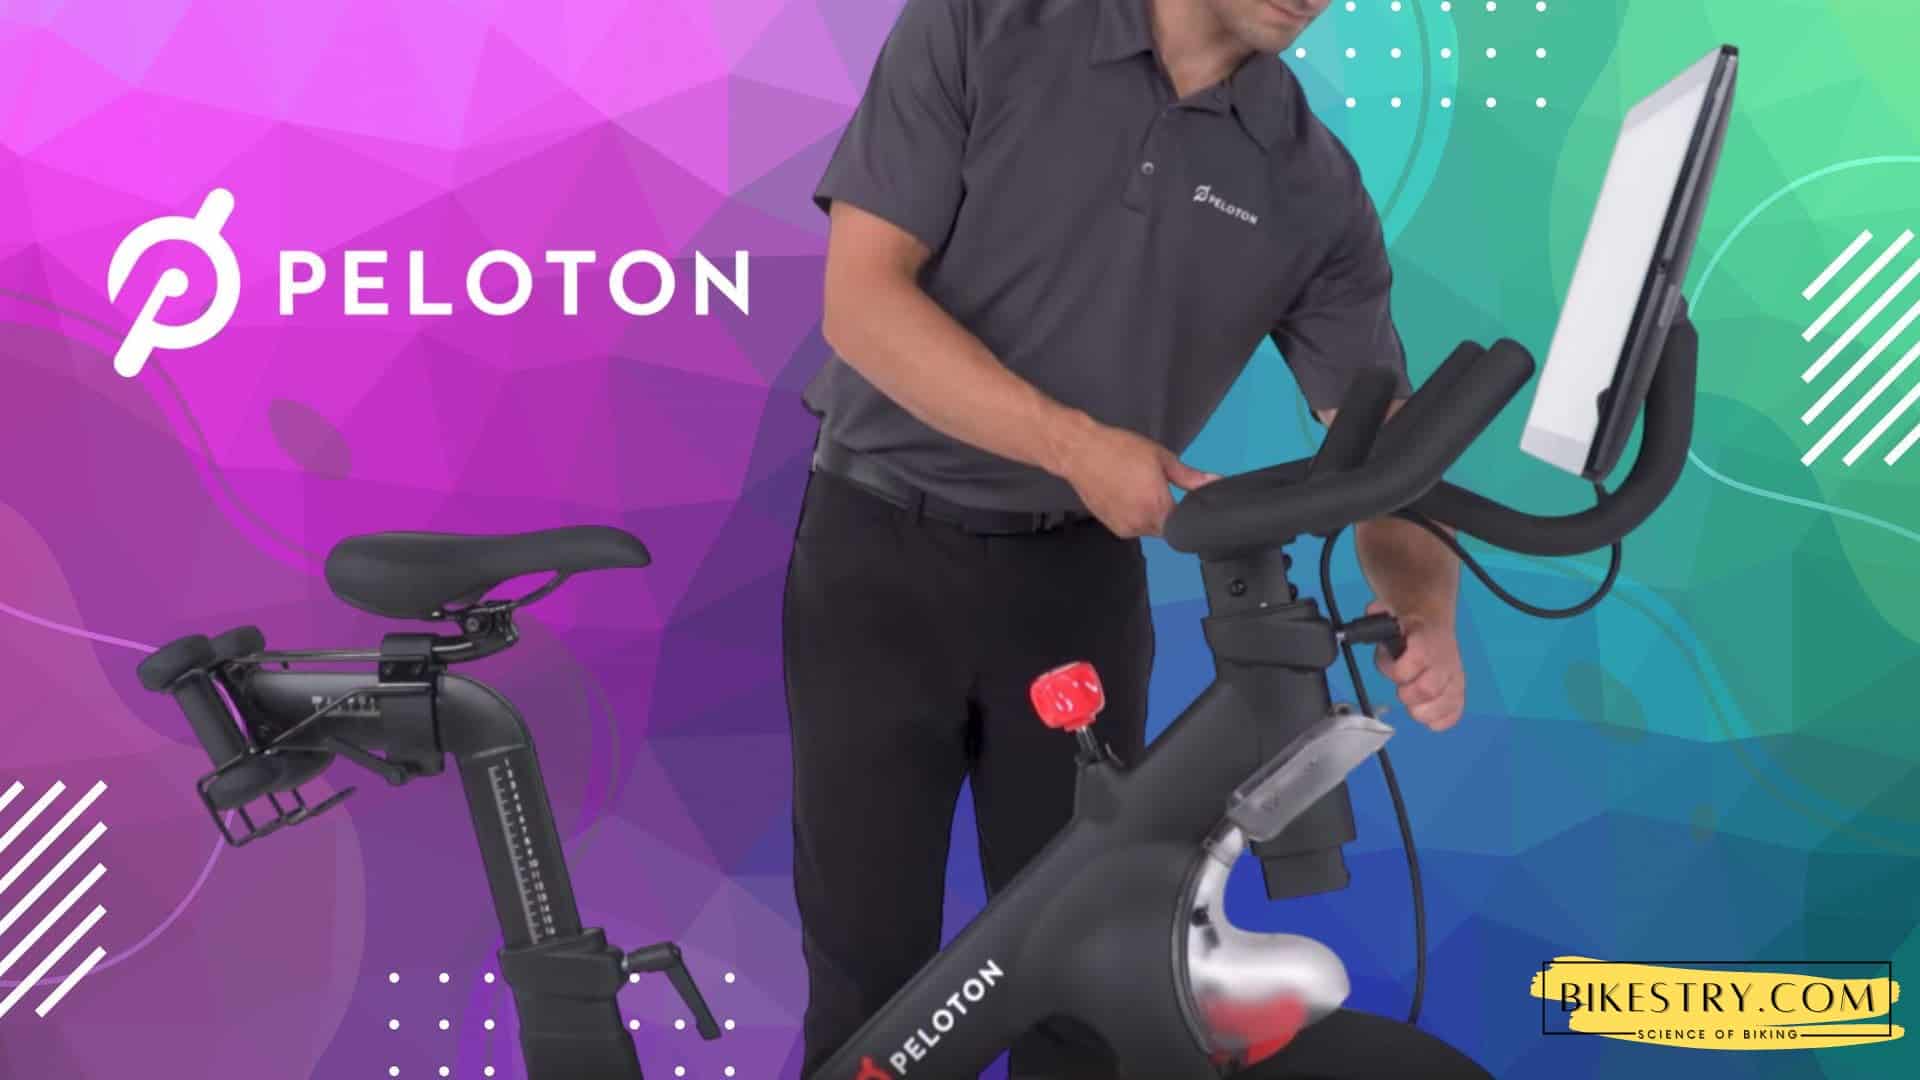
Adjust the Seat and Handlebars
The peloton bike can adjust for the height and depth of the saddle. We will make sure that both of these settings work in your favor. Let’s start with the height of the seat.
The L-handle located just above the V shape of the bike towards your seat will adjust the seat height. To loosen the seat, turn it clockwise. How high is the recommended seat height? It should be at your hip bone.
Let’s adjust the seat depth after we have determined the seat height. It should be parallel with the handlebars. height.
If the seat height is not right in line with the handlebars, adjust your handlebars height. Sitting on the bike seat and then touching the handlebars is a simple way to check. They should be only slightly bent.
Now, get off the bike and adjust the seat depth.
Re-attach the Touch Screen.
If you have already taken out the touchscreen, you can now put it back. The screen will usually come off in most cases to make it easier for you to move.
You will first need to remove the back panel from the touchscreen. Next, align the screen with its mount. Then, use a screwdriver to secure the screen to its mount. Next, you can put the back panel back together. Finally, plug in the power cord.
Tighten all the Knobs and Bolts
Make sure you tighten all bolts, nuts, and knobs. An Allen wrench is included with the bike, use it for tightening them.
Peloton Spinning Gear
You must now know that you will need
Look for Delta shoes. Okay, now you need to have your shoes cleated before you get on the bike. You can find our detailed guide on how to install
peloton pedal cleats on your shoes.
Once you have your shoes properly cleated and you are comfortable in them, you can hop on your bike. Turn your toes down and aim for the pedals.
You will hear a creaking sound when you touch the pedal’s center with your foot. This is a sign that the clip-in was successful
Clipping out is easier than you think. You can clip out with a simple heel kick to the pedals.
You may also want to consider peloton toe boxes. These will allow you to spin on peloton while not having to wear cycling shoes. Peloton offers peloton toe boxes, which you can attach to your pedals. You can ride in your basketball shoes with your clipped pedals. You can even ride in your basketball shoes with your clipped pedals.
Toe cages are not necessary if you are wearing regular non-cycling shoes. The straps will hold you in place by securing your shoe’s front. Now you can safely spin without the peloton cycling footwear.
There are more. Continue reading!
Power on the Bike
Connect the power cable to your screen. Connect it to the power socket at the back of your bike. Then plug the power supply into the wall. The power supply will turn green to indicate that it is being powered.
The power button is located at the top of the screen. To turn it on, press and hold it for a second.
Connect to Wireless Connection
Everything on peloton is online so you will need to connect to a wireless network. Both Wi-Fi or Ethernet are acceptable.
Connect the internet cable to your screen if you are using ethernet. It is possible to find its specific port.
Wi-Fi is easy to use. You only need to choose the Wi-Fi you want, and then enter your security password.
Now you are free to try out peloton.
Logging into Peloton
You are now ready to start a class on peloton . Access to a wide range of live and archived classes is what makes a peloton so attractive. Even those without a peloton bike would love to have the opportunity to explore these classes. Fortunately, they are available.
You can still enjoy the bike’s advantage, as you get the archived classes free of charge. The rest of the riders have to pay over $12 per month.
To access peloton, however, you must first log in. Sign in to your peloton account using the email you used to register for the bike. You can also use the start key you will see on your screen.
You can also add other information such as your name to the leaderboard. You can then explore the thousands of classes peloton offers its users.
Subscription
You can get a premium subscription for $39 per month with peloton. Click on my account and choose the payment method. Enter your card number to confirm the payment.
Congratulations! Congratulations! You now have the best benefits from peloton. You will receive the live class that you desire, music from Sportify or Apple Store, and an instructor of choice. Your metrics will be displayed on the touchscreen and you will compete in the leaderboard. For motivation and fun, you will be exposed to like-minded riders.
People Often Ask
Does Peloton Bike Come Assembled?
It is fully assembled when it reaches you. You can adjust the handlebars and seat as you like.
The screen can sometimes be removed to protect it from the harshness caused by moving the bike. The installation is, however, a walk in a park.
Bottom Line?
Now you are ready to ride your peloton. This guide will show you how to set up your peloton bike. Make sure you review the Peloton 101 guide, which can be found on the touchscreen. It will provide all the information you need about the bike and rides. You can also check out our other guides that provide information about the peloton and spinning worlds.